Make your own infrared filters
|
Infrared photography is fascinating. With all its white vegetation, nice contrast, and sometimes deep dark skies... I love it. 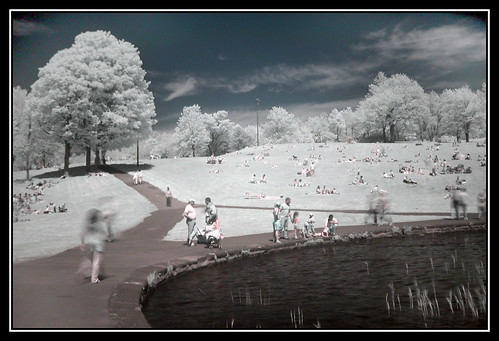
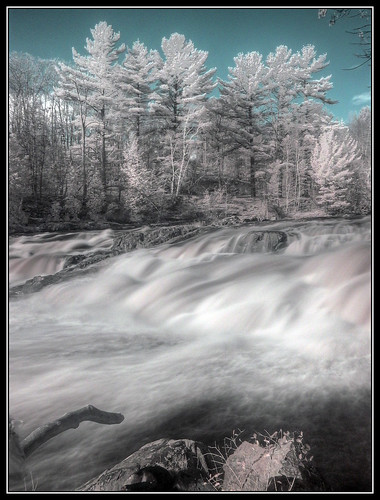 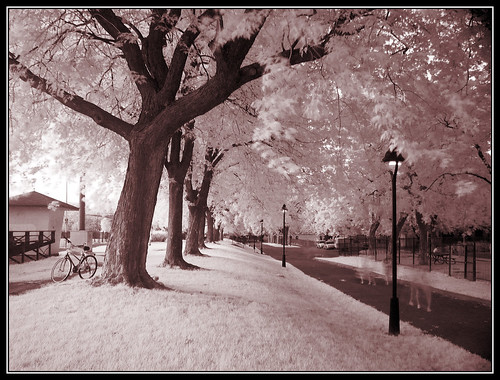
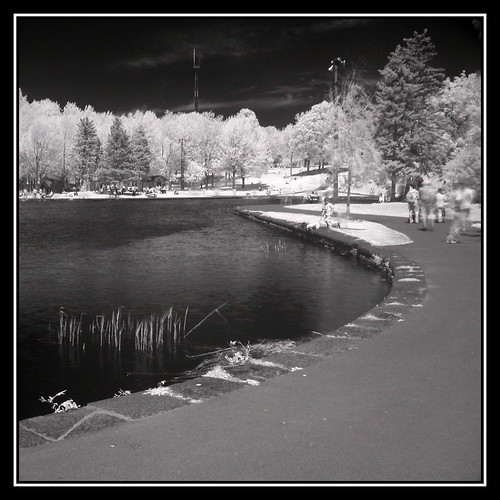 There are already plenty of infrared photography guides on the Internet, I'm not going to do the same. Instead, I will show you how to make your own infrared filters! The recipeIt's quite simple: Step #1 : go to your favorite photo shop 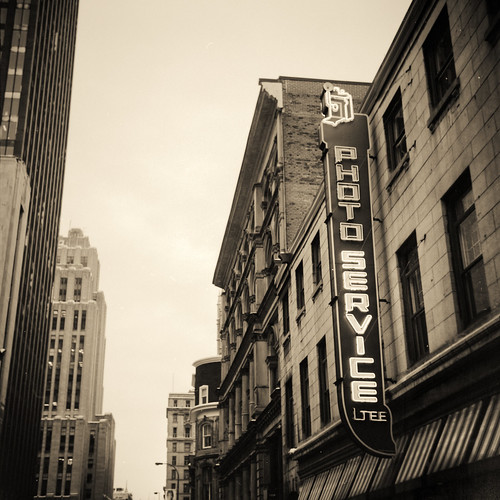 Step #2 : buy a roll of slide film (process E-6, Ektachrome or Fujichrome), choose a 120 film instead of a 35mm film, it's a wider film, that way, you'll be able to make larger filters. 120 film is not available everywhere, but there is always some at Photo Service :-) 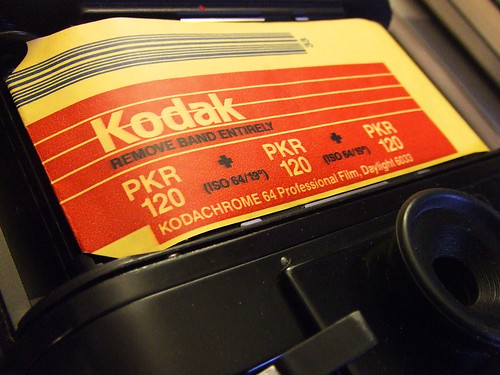 Step #3 : don't step out of the shop yet, ask your seller to process it rightaway, even if it's not exposed to light. They will probably give you a strange look, but specify that you know that it makes no sense, but insist you need to process the film like it is, unexposed. Specify also that they should not cut the film, you will cut it yourself.  When you'll receive the processed film roll, in reality, you will have a roll of infrared filter. This type of infrared filter is perfectly fine. it cuts light at around 750nm and leaves about 2% of visible light get through, so you can have subtle colors, like the images at the top of this page. If you prefer to have pure black and white, then simply add a second layer of the filter. You can now cut your own filters to the size you want, and use them on any camera you like! 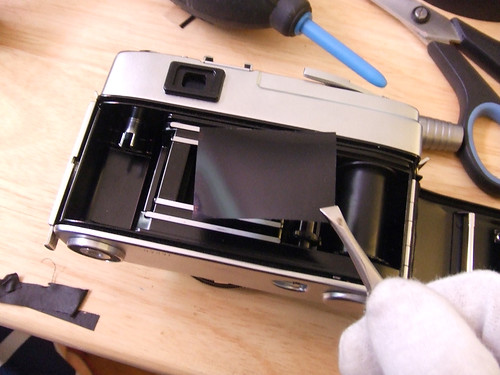
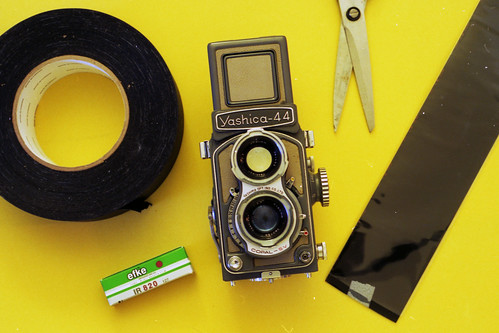 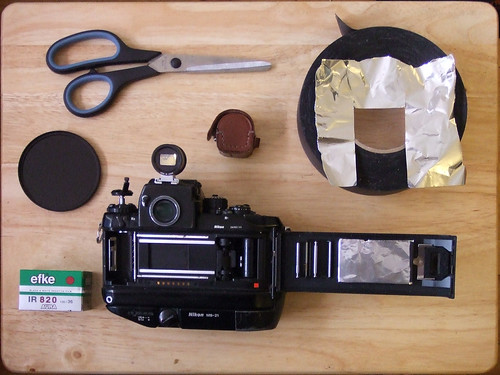
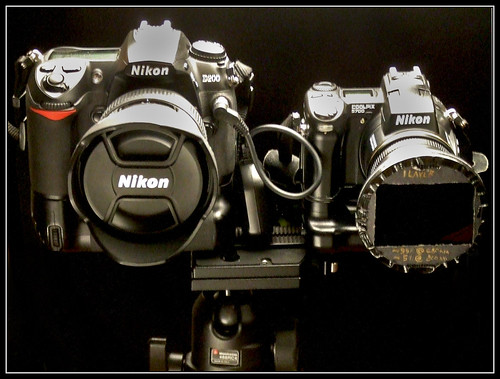 ExplanationSlide film is meant to go in projectors. In a projector, there is a big light bulb that generates a lot of heat. To make sure that the slide film does not melt, it lets infrared light go through. Also, if the slide film is not exposed, it's opaque, totally dark. So, if you have something that lets infrared light go through and blocks visible light, you have an... Infrared filter! There you go! You can now do some infrared photography like a pro! 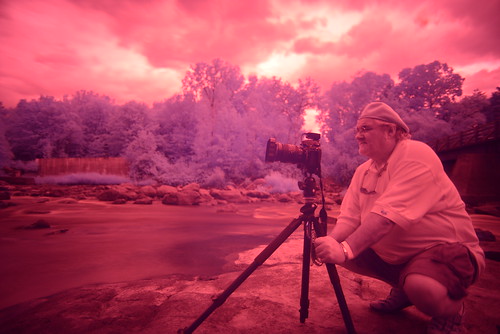 Thanks for being there!Eric Constantineau, small photographer in this big World  |
CONTACT
